Jump to section Puzzle Finder Opening & Drawbridge Puzzles Red Region Puzzles Blue Tower Puzzles Green Tower Puzzles Yellow Tower Puzzles Post-game Puzzles Name · alias · location · visual clue
Puzzle Finder 37 puzzles What do you see? Clear
microphone timer face symbols chair post-game
No match yet. Try a visual word, a tower color, or a synonym such as “mic,” “radio,” or “face.”
Opening
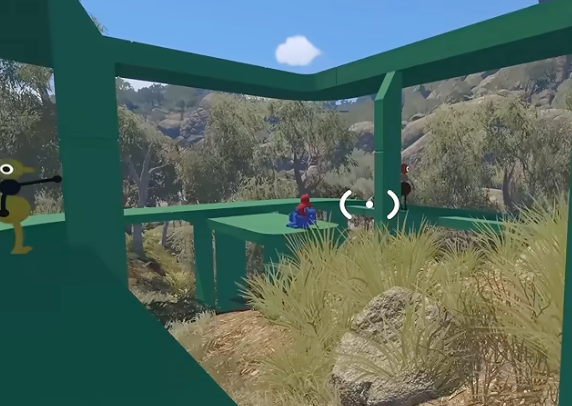
Opening & Drawbridge Puzzles What you’re looking at A yellow L-shaped crane holding a red control-panel piece, with a red button under its arm.
Right of the Tutorial Hall exit path, among boulders (about 3520, 1280). Small Hint The button is about height, not a hidden control.
Stronger Hint Use another player as the missing platform.
Full Solution Have one player lift or support another. Walk the upper player under the crane arm and press the red button. Pick up the piece that drops from the far end. Reward: One of four mandatory Beach Control Panel pieces.
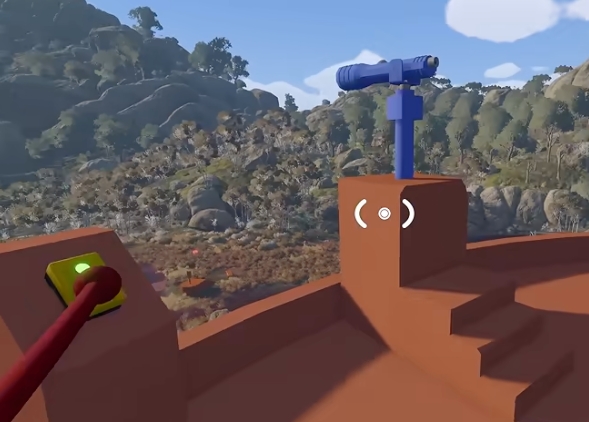
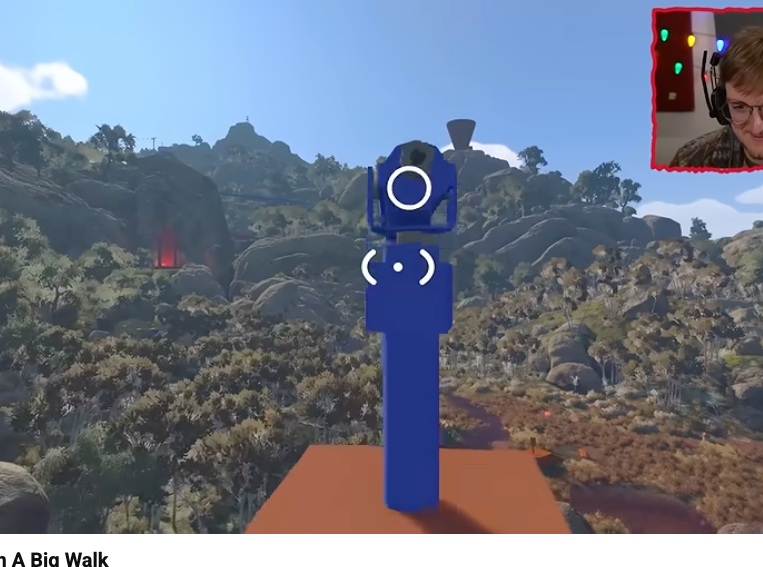
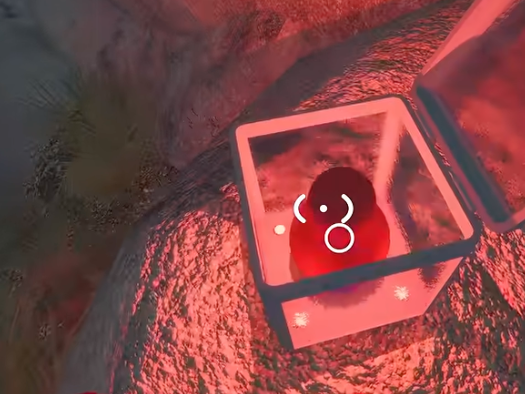
Related puzzle or guide → What you’re looking at A fixed blue spyglass, a hold button, and a distant red beacon beside a glass reward box.
Button and spyglass platform near 3510, 1195; the box is on the facing mountainside. Small Hint The spyglass shows where the second player needs to go.
Stronger Hint The distant box stays open only while the platform button is held.
Full Solution Leave one player holding the platform button. Send a second player toward the red beacon. Keep holding until the runner has removed the piece from the glass box. Reward: One of four mandatory opening pieces.
Related puzzle or guide → Required opening puzzle Verified
Blue House Symbol Sequence Also called: Peg puzzle · pegboard · pin puzzle · opening symbol house
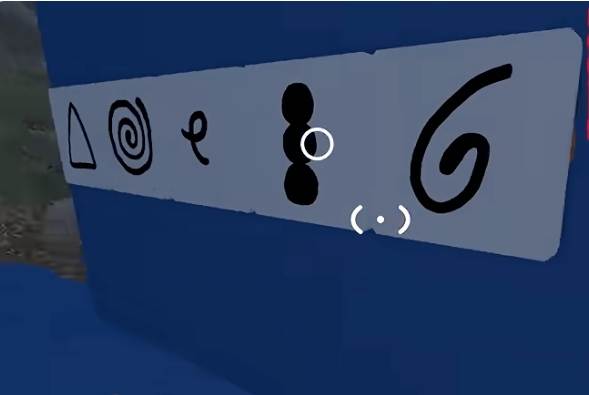
What you’re looking at One locked room with five symbol screens and an outside board with nine wooden symbol tiles.
Blue house uphill from the telescope route, about 3660, 1295. Small Hint The inside and outside players each have half of the task.
Stronger Hint Read the five inside symbols left to right and give every unusual shape a stable nickname.
Full Solution Put one player inside and one at the outside tile board. Read and repeat the five-symbol sequence left to right. Place the matching tiles in order and press the checker. Reward: One mandatory opening piece.
Related puzzle or guide → Required opening puzzle; timing scales by world version Verified
Green Scaffolding Signal Buttons Also called: Simultaneous switches · green columns · scaffolding puzzle
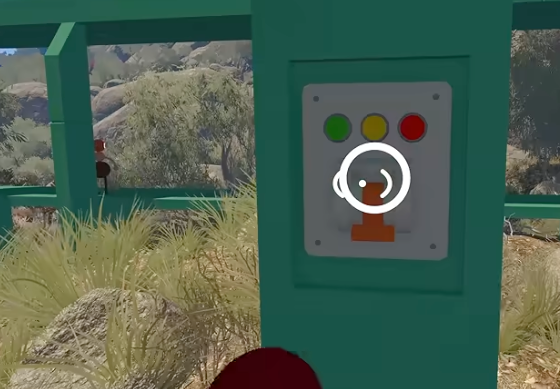
What you’re looking at Separated red button plates around a tall green scaffold, each with status lights.
Green scaffold structure east of the Blue House, about 3650, 1220. Small Hint Walk around the whole structure before pressing anything.
Stronger Hint Assign every active plate, choose one caller, and use a shared countdown.
Full Solution Find and assign every active button for your world size. Use one clear “three, two, one, press” call. Watch the status lights; on the next attempt adjust only the station that was late. Reward: The fourth mandatory opening piece.
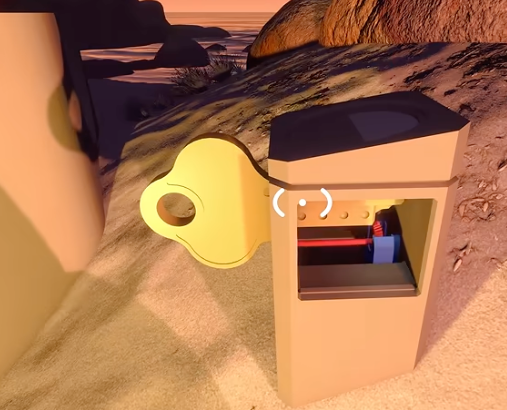
Related puzzle or guide → What you’re looking at A raw gold key, five cutting machines, and an arrow revealed after each cut.
Starts beside the Beach Control Panel and follows the sand and water toward the Drawbridge. Small Hint The first machine is beside the panel that released the key.
Stronger Hint Every completed cutter points to the next one; a machine that rejects the key is probably out of order.
Full Solution Use the cutter beside the Beach Control Panel first. Follow each revealed arrow through all five cutters. Carry the finished key upstairs and insert it in the Drawbridge lock. Reward: Lowers the Drawbridge and opens the main island.
Related puzzle or guide → Red Region
Red Region Puzzles What you’re looking at A glass semicircular room, lit stone segments, and a wall of controls outside.
Green building at the bottom of the Red Tower path, about 3760, 1430. Small Hint The locked player can see the clue but cannot operate the answer.
Stronger Hint Number the outside buttons before starting, then use large pointing gestures.
Full Solution Put one player inside and number the outside buttons. The inside player points to the button matching each lit segment. Press once, wait for the meter to advance, and repeat. Round count can vary. Reward: One red control-panel piece.
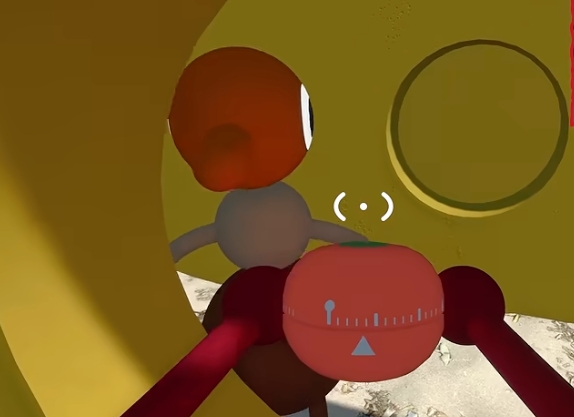
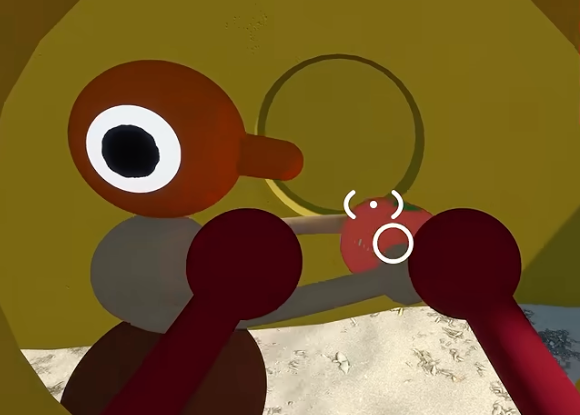
Related puzzle or guide → What you’re looking at Two maze lanes, circular pass-through windows, a tomato timer and a green receiving pot.
Beach southwest of Red Tower, about 3840, 1350. Small Hint Scout where the two routes meet before starting the timer.
Stronger Hint Station players at the window chain and move the timer hand-to-hand.
Full Solution Place the final receiver at the green pot. Assign every window, then activate and grab the tomato timer. Pass it through the openings and seat it in the green pot before time expires. Reward: One red control-panel piece.
Related puzzle or guide → What you’re looking at A small red ball that makes its holder unable to walk or throw normally, with a distant goal.
Dark blue-purple forest platform southeast of Red Tower, about 3740, 1620. Small Hint The carrier is not supposed to walk the whole route.
Stronger Hint Alternate a close hand-off with the empty player running ahead.
Full Solution Move one empty player just ahead of the carrier. Transfer the ball at close range. The previous carrier runs forward; repeat until the ball reaches the marked goal. Reward: One red control-panel piece.
Related puzzle or guide → What you’re looking at Basketball hoops, throwable light objects and a progress display.
Forest near the Heavy Ball route, about 3830, 1560. Small Hint Use the local lights like basketballs.
Stronger Hint Choose a repeatable release point and keep one player returning misses.
Full Solution Throw the supplied bulbs or lanterns cleanly through the hoop. Retrieve misses and repeat from a consistent spot. Continue until every required meter segment is green; the count can vary by world. Reward: One red control-panel piece.
Related puzzle or guide → Useful Red Tower reward Verified
Train-Station Cannon Timer Also called: Cannonball puzzle · shooter timer · tomato cannon · timer
What you’re looking at An elevated cannon, a tomato timer landing field and a green receiver back near the platform.
Yellow platform overlooking a small station and field, about 3880, 1520. Small Hint Put the catcher in the field before anyone fires.
Stronger Hint The timer has to travel out and then come back to the platform receiver.
Full Solution Station a field receiver below the cannon. Fire, retrieve the live timer and return or relay it uphill. Seat the timer in the green holder before it expires. Reward: One red control-panel piece.
Related puzzle or guide → Optional regional reward Needs more confirmation
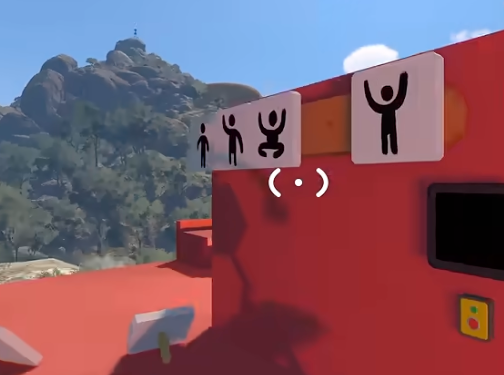
Mountain Telescope Gesture Stations Also called: Telescope charades · five-platform pose puzzle · mountain gesture
What you’re looking at Telescopes and pose-choice tiles overlooking remote numbered platforms.
A mountain telescope overlook facing several distant platforms; exact route remains less certain. Small Hint The observer and actor need a shared platform numbering system.
Stronger Hint The distant player performs the full pose; the observer selects its matching tile.
Full Solution Number the remote platforms before splitting. Send one player to the requested platform and hold the exact arm/body pose. The telescope player selects the match, confirms success and sends the actor onward. Reward: One red control-panel piece.
Related puzzle or guide → Map/GPS lesson and optional tower reward Verified
4166, 1899 Coordinate Button Also called: Number puzzle · coordinates puzzle · hidden button · 4166 1899 · GPS puzzle
What you’re looking at A box signed with two four-digit numbers and a distant, camouflaged hold button.
Prize box near the beach; hidden button at 4166, 1899 on joined rocks between railway and chairlift/tunnel geography. Small Hint The numbers are a place, not a keypad answer.
Stronger Hint Use the paper map or the GPS to reach 41/18, then refine to .66/.99.
Full Solution Unlock the Map Room and take the map, or collect the GPS near Green Tower. Navigate to 4166, 1899 and find the small button on or behind joined rocks. One player holds the button while a partner removes the piece from the signed beach box. Reward: One red control-panel piece.
Related puzzle or guide → Blue Tower
Blue Tower Puzzles What you’re looking at Two rooms behind yellow revolving gates; one has a target strip and the other has nine tiles.
Red coastal building visible from Blue Tower, about 3505, 1960. Small Hint Leave loose tools outside before the gates take them off you.
Stronger Hint Read the five targets in order to the player with the tiles.
Full Solution Put one player on each side and name the symbols consistently. Read the five-symbol target left to right. Place and check the matching tiles, then collect the reward from the opposite room. Reward: One red control-panel piece.
Related puzzle or guide → Useful Blue Tower reward Verified
Wait Five Minutes Room Also called: Timer Room · locked timer house · patience room · timer
What you’re looking at A room that locks after the buttons are pressed and displays a five-minute wall timer.
Red house among trees below/right of Blue Tower, about 3590, 2020. Small Hint The empty room is not hiding another switch.
Stronger Hint The countdown itself is the entire puzzle.
Full Solution Get every needed player inside and start the room. Wait without resetting until the timer reaches zero. Pick up the released piece and leave. Reward: One red control-panel piece.
Related puzzle or guide → What you’re looking at Walls, hold-open gates, block stairs, low passages and a final tomato-timer throw.
Blue Tower region around 3700, 1950. Small Hint Every gate and ledge asks the players to leapfrog roles.
Stronger Hint Keep one player holding each gate until the partner confirms safe footing.
Full Solution Stack over the first wall and open the route from inside. Alternate gate holding, catching and player stacking through the course. Place a receiver at the end before releasing and throwing the timer into its holder. Reward: One red control-panel piece.
Related puzzle or guide → Useful Blue Tower reward Verified
Golden Head Blindfold Course Also called: Blindfolded Obstacle Course · trust-fall maze · Big Golden Head puzzle
What you’re looking at A gold head at a turnstile entrance and an obstacle route the wearer can barely see.
Blue Tower side of the island, about 3360, 1930. Small Hint Only one person should give directions.
Stronger Hint Use short movement words rather than angle-based instructions.
Full Solution Put the gold head on one runner. A guide outside the walls calls “forward,” “stop,” “small right,” “jump” and “crouch.” Fine-tune the blindfolded runner until they press the final red button. Reward: One red control-panel piece.
Related puzzle or guide → Useful Blue Tower reward Needs more confirmation
Charades Locked Room Also called: Pose tiles · action sequence room · interpretive dance puzzle
What you’re looking at One player sees five poses behind glass; the other has nine handled pose tiles.
Blue Tower region around 3250, 1940. Small Hint Read legs and body height, not only arms.
Stronger Hint The trapped player performs each target as a static pose for the tile player.
Full Solution Number the five target positions. The informed player holds each full-body pose clearly. Place the matching tile in each position and check the sequence. Reward: One red control-panel piece.
Related puzzle or guide → Green Tower
Green Tower Puzzles Useful Green Tower reward Needs more confirmation
Two-Room Light and Tannoy Symbols Also called: Lightbulb/Speaker Locked Room · missing-screen puzzle
What you’re looking at Two locked rooms with matching nine-tile layouts; one has a tannoy and the other a red signal light.
Chartreuse building north of Green Tower, about 3825, 1930. Small Hint Number all nine tiles before the rooms lock.
Stronger Hint Speech carries one direction; counted light flashes carry the missing answers back.
Full Solution Agree on shared tile numbers. Use the tannoy to send the left room its missing symbols. Send tile numbers back with separated light flashes, fill both boards and check. Reward: One red control-panel piece.
Related puzzle or guide → Useful Green Tower reward Needs more confirmation
Coastal Crane Drop Also called: Two-switch crane · Green crane · flare puzzle
What you’re looking at A rocky crane outcrop with switch stands far apart on opposite sides.
East/southeast coast around 3790, 2250. Small Hint Test whether ordinary voice reaches before separating.
Stronger Hint Use a bright visual signal and press both switches inside the same short window.
Full Solution Assign every active stand before attempting. Choose a visible signal such as a lantern raise or flare. The caller signals and presses; the remote player presses immediately. Reward: One red control-panel piece.
Related puzzle or guide → What you’re looking at Nine apparently blank tiles, a fixed viewing lens and a randomized five-symbol board.
Blue circular area between Blue and Green Tower routes, about 3740, 2140. Small Hint Identify the tiles before starting the randomized board.
Stronger Hint Use the lens, then preserve each tile’s identity by arranging it in a numbered physical grid.
Full Solution Hold every tile behind the fixed lens and name it. Arrange the identified tiles in a stable 3×3 layout. Start the target, retrieve the five mapped tiles and place them in order. Reward: One red control-panel piece.
Related puzzle or guide → What you’re looking at Yellow stands hiding green safe lights or red failure lights around a center meter.
Blue circular arena southwest of Green Tower, about 4020, 1870. Small Hint The unsafe positions stay useful after a failed attempt.
Stronger Hint Mark every red stand physically, reset, then activate only unmarked stands.
Full Solution Divide the arena into sectors and test systematically. When a stand shows red, restart and mark its position with a carried object. Activate all known-green stands while avoiding the red set. Reward: One red control-panel piece.
Related puzzle or guide → Useful Green Tower reward; answer varies Verified
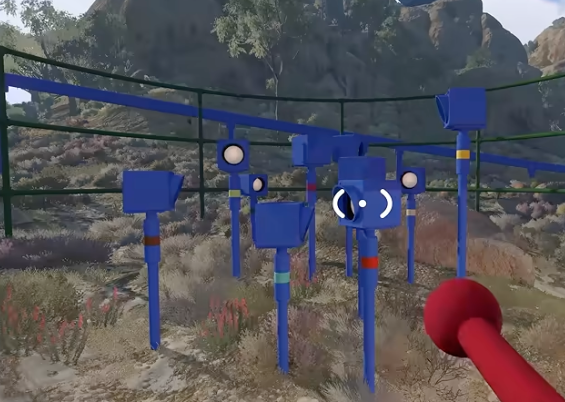
Green Arena Head Count Also called: Head Count · blue lamps · counting faces · face · 4100 1880 puzzle
What you’re looking at Ten blue striped lamps with white globes, an activation button and a blue number counter.
Green arena south of Yellow Stands, around 4100, 1880. Small Hint Assign every lamp to exactly one player before starting.
Stronger Hint Count only the black head silhouettes in your assigned globes, then add subtotals once.
Full Solution Divide the ten lamps into non-overlapping zones using stripe colors. Start the sequence and quietly count silhouettes only in owned globes. Have one designated adder total the subtotals and enter that number. Never copy a screenshot value. Reward: One red control-panel piece.
Related puzzle or guide → Yellow Tower
Yellow Tower Puzzles What you’re looking at A central wheel awaiting 36 handled pieces in four color groups.
Yellow Tower region around 3370, 1490, across trees, rocks, central red area and raised rail. Small Hint Each color points to a terrain type.
Stronger Hint Search trees for yellow, rocks for green, the red area for red and the raised rail for blue.
Full Solution Divide the group by color and terrain. Use nearby rocks to reach the blue rail pieces; check the hidden orange mountain tunnel for a high green piece. Return all 36 pieces to the central wheel; placement order does not matter. Reward: One red control-panel piece.
Related puzzle or guide → Useful Yellow Tower reward Verified
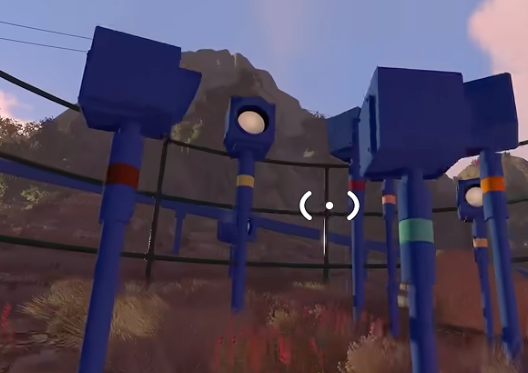
Headphone Sound Check Also called: Microphone puzzle · chair puzzle · Headphone Hell · six mics · microphone
What you’re looking at A seated listener under headphones and six numbered microphone stands.
Large beige/red archway in the Yellow region, around 3400, 1230. Small Hint Only one speaker should test a microphone at a time.
Stronger Hint The listener uses directional stereo sound to guide the speaker toward the active clear mic.
Full Solution Number the six microphones and seat one listener. Test one stand at a time with the same phrase; the listener signals left, right or centered. Press the local button at the clear mic and repeat until the meter fills. Reward: One red control-panel piece.
Related puzzle or guide → Useful Yellow Tower reward Verified
Music Room Speaker Matching Also called: Sound booths · imitate-the-sound puzzle · Yellow speaker room
What you’re looking at Loose yellow speakers outside and five target-sound booths inside a lockable room.
Beige/red striped northwest Yellow-region building, about 3200, 1260. Small Hint Nickname every loose sound before anyone locks in.
Stronger Hint The inside player imitates each booth sound; the outside player hangs the matching speaker.
Full Solution Listen to and name every loose speaker. The inside player hears booth one and describes or imitates it over the intercom. Hang the matching speaker, wait for feedback and repeat through all booths. Reward: One red control-panel piece.
Related puzzle or guide → Useful Yellow Tower reward Needs more confirmation
Mirrored Stage Directions Also called: Stage lights · seven-button booth · inverted directions
What you’re looking at A locked booth with seven lights and an outside set of seven buttons viewed from the opposite direction.
Dark stage south of Yellow Tower, about 3410, 1590. Small Hint Choose one person to perform the mirror conversion.
Stronger Hint Number the outside controls first; translate the inside light to that viewpoint.
Full Solution Agree on button numbers before the inside player locks in. Call the lit position and mirror it once; the documented duo mapping is 1↔3, 2→2, 4↔7, 5↔6. Press, wait for confirmation and repeat. Reward: One red control-panel piece.
Related puzzle or guide → Useful Yellow Tower reward Needs more confirmation
Aerial Seat Symbol Delivery Also called: Moon chair · mini chairlift symbols · roller-coaster puzzle
What you’re looking at A crescent moving chair linking nine source tiles to a remote five-symbol target.
South of the Yellow Tunnel/Black Tower region, around 3570, 1600. Small Hint Inspect the five-symbol target before sending any tile.
Stronger Hint Use binocular yes/no confirmation or backpacks to shuttle the matching five tiles.
Full Solution Send one player to read the remote target in order. At the source, hold up candidate tiles for confirmation or retrieve the memorized set. Move the correct five on the chair and assemble the sequence. Reward: One red control-panel piece.
Related puzzle or guide → What you’re looking at Two grey buildings across cliffs: one dense button wall and one matching light wall, linked by yellow speaking cages.
East of Yellow Tower behind the chairlift station, about 3290, 1670. Small Hint Agree on room-local wall names before splitting.
Stronger Hint Call wall, cluster shape, then exact position from the speaking cage.
Full Solution Put one player in each room and name every wall/cluster. The light player reads the active lamp, moves to the cage and gives a precise description. The button player repeats the call, presses once and waits for confirmation. Reward: One red control-panel piece.
Related puzzle or guide → Optional island reward Needs more confirmation
Radio-Channel Match Chair Also called: Music chair box · radio station puzzle · speaker chair
What you’re looking at A blue chair/headset platform playing a song, paired with a distant prize box.
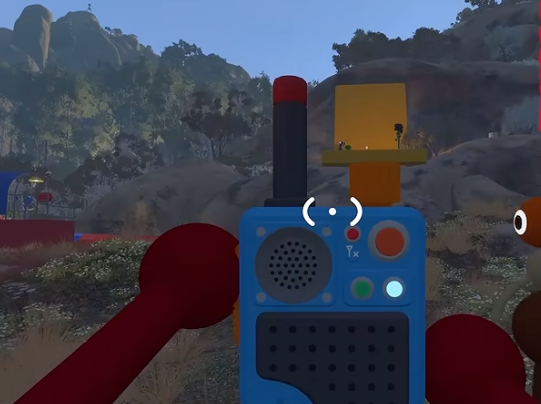
Community reports place the chair above the Five Minute room and its box near one of seven radio stations. Small Hint If the handheld radio lacks a channel, discover more radio stations first.
Stronger Hint Match the chair song to one of the seven radio channels before sending a collector.
Full Solution Activate all seven radio stations and take the handheld radio to the chair. Compare the chair track channel by channel. Send a partner to the matching station box; hold the chair-side button while they retrieve the piece. Reward: One red control-panel piece.
Related puzzle or guide → Post-game
Post-game Puzzles Post-game / 100% Needs more confirmation
Wait 30 Minutes House Also called: Post-game Timer · 30-minute room · purple Timer Room · timer
What you’re looking at A purple remix of the timer room with a 30:00 wall countdown.
Reported on the east beach below Blue Tower after the first ending. Small Hint Plan a real break before starting.
Stronger Hint No documented bypass exists; keep the host session alive until zero.
Full Solution Enter only when the group can remain in the session. Activate the room and do not leave, reload or reset. Wait to zero and collect the purple piece. Reward: One purple post-game piece.
Related puzzle or guide → What you’re looking at The heavy red ball route expanded across roads, chairlift and railway hazards.
Reported from a hill east of Red Tower toward the east coast. Small Hint Place every receiver before moving the ball.
Stronger Hint Use a close hand-to-hand relay and the operating chairlift; keep the ball away from rails.
Full Solution Build the relay from the red-zone start to the mid-mountain road. Transfer the ball with the chairlift toward the east coast. Continue hand-to-hand to the reported goal; if it reaches the railway, wait at a predictable recovery point. Reward: One purple post-game piece.
Related puzzle or guide → What you’re looking at Thirty-six drawings that must be sorted by subtle fill, outline and part-count properties.
Reported east of Blue Tower. Small Hint Lay every drawing face-up before deciding categories.
Stronger Hint Separate definite matches from ambiguous ones, then compare ambiguous drawings side by side.
Full Solution Spread the drawings into a visible workspace. Compare fill, outline, petal count and repeated internal marks. Move one ambiguous piece at a time and submit only after every drawing has a category. Exact categories still need screenshots. Reward: One purple post-game piece.
Related puzzle or guide → What you’re looking at A 3×3 speaker grid used while the relevant players are muted.
Reported in the far northwest post-game set. Small Hint Number the grid before the formal round.
Stronger Hint Use a row-and-column hand code instead of inventing nine sound mimes.
Full Solution Number cells 1–9 left-to-right, top-to-bottom. The listener signals the needed row and column. The operator points for confirmation before activating each cell. Reward: One purple post-game piece.
Related puzzle or guide → Post-game / 100% Needs more confirmation
Nine Symbols Also called: Purple Posing · 3x3 symbol grid · spiral · snowman
What you’re looking at A 3×3 visual symbol grid solved by a muted player using body language.
Reported in the northeast post-game set. Small Hint Agree on all nine gestures before pressing start.
Stronger Hint Use row/column signals when a symbol is too hard to mime.
Full Solution Create a shared gesture or row/column code for the nine visible symbols. The informed player holds the code while the operator points to the interpreted cell. Confirm with both arms raised, then press. Reward: One purple post-game piece.
Related puzzle or guide → What you’re looking at A harder timed climb with lifts, ladders, zig-zags and a live timer.
Reported southeast of Blue Tower. Small Hint Scout and assign the whole course before touching the timer.
Stronger Hint Throw the live timer forward to waiting receivers and leapfrog both people and object.
Full Solution Place a player at each hard transition. Start the timer only after receivers are ready. Throw/pass it through the climb, using stacks at ledges and one player at a time on narrow ladders. Reward: One purple post-game piece.
Related puzzle or guide → What you’re looking at A silent lightbulb question-and-answer setup completed over several rounds.
Reported northeast of Yellow Tower beside the railway. Small Hint Make the flash language unambiguous before splitting.
Stronger Hint One flash means yes, two means no; a rapid flash signals failure/reset.
Full Solution Agree on the code and leave a full pause between messages. Test candidate lights/groups one at a time. Preserve confirmed groupings and repeat through the reported five rounds. Reward: One purple post-game piece.
Related puzzle or guide → First ending — full spoilers Needs more confirmation
Final Three-Color Gate Also called: Goodbye gate · interpretive color exit · sphere ending gate
What you’re looking at A final gate showing three body colors while players are separated by glass.
At or inside the black sphere after the Black Wall route. Small Hint Know every teammate’s three painted body colors before entering.
Stronger Hint Match the displayed color combination to the player who should leave next.
Full Solution Identify the teammate matching the three displayed body colors. Activate the required positions and send that player through alone. Repeat for those remaining, using visible arms and colors when voice no longer carries. Exact controls need more capture. Reward: First ending / credits and the Big Goodbye achievement route.
Related puzzle or guide →