Tutorial Hall / Gym
Recognize it: Colorful indoor hall with signs, loose objects and a huge exit arch.
Why it matters: Movement practice, reunion point, cowbell and access to customisation/Lost & Found.
Customisation Room / Paint Area
Recognize it: Oversized paint-palette/brush language and a mirror below the Tutorial Hall.
Why it matters: Friends repaint body sections; distinct colors help at the final gate.
Lost & Found
Recognize it: Starting-area recovery point; reported as a beige platform with a Lost & Found sign in the gym complex.
Why it matters: Check here after searching a drop site, teammates and bags. Exact return timing remains uncertain.
Needs more confirmationStarting Beach / Beach Control Panel
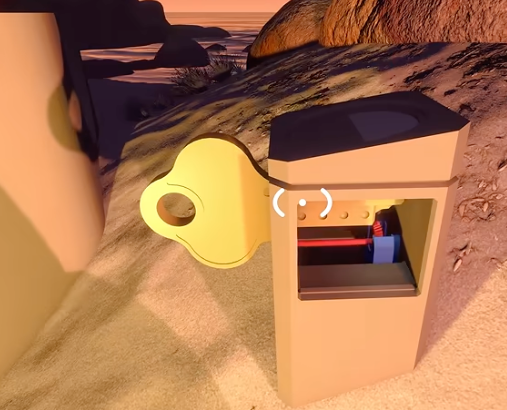
Recognize it: Low circular four-slot structure on sand, about 3550, 1100.
Why it matters: Receives the four opening pieces and releases the first gold key.
Drawbridge / Crosswalk
Recognize it: Broad raised bridge at the top of long beach stairs.
Why it matters: The opening key lowers it to expose the main island.
Red Region and Red Tower
Recognize it: Two huge red circular platforms, long red Map Room stairs and a separate tower path; tower about 3670, 1400.
Why it matters: Five pieces release the key that opens the Map Room.
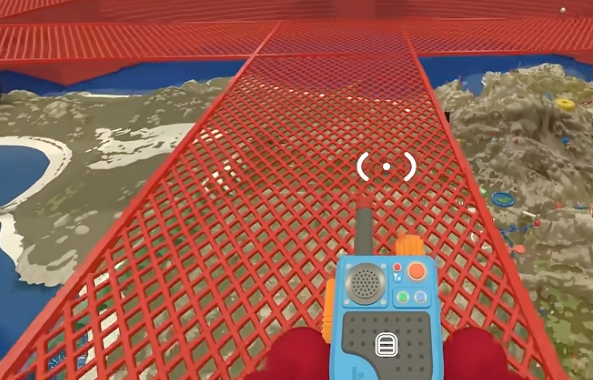
Map Room
Recognize it: Low blue tunnel-like building with a very long red staircase, about 3560, 1425.
Why it matters: 3D model, paper map, compass, laser pointers and whiteboards. It is not Blue Tower.
Blue Tower
Recognize it: High blue mountain tower around 3540, 1850.
Why it matters: Its key starts the trains at the main station.
Needs more confirmationMain Train Station
Recognize it: Mountainside platform and key slot around 3380, 1740.
Why it matters: Insert the Blue key to start all three trains.
Railway / Train Loop
Recognize it: Elevated rails and colored station boards circling the island.
Why it matters: Navigation landmark before unlock; travel loop after Blue Tower.
Needs more confirmationGreen Tower
Recognize it: Green tower beside a large blue chairlift station around 3930, 1900.
Why it matters: Its key activates the chairlift; GPS frame is nearby.
Main Chairlift Station
Recognize it: Blue station with a red floor and giant cable supports, about 3950, 1950.
Why it matters: Green key starts the aerial route toward later regions.
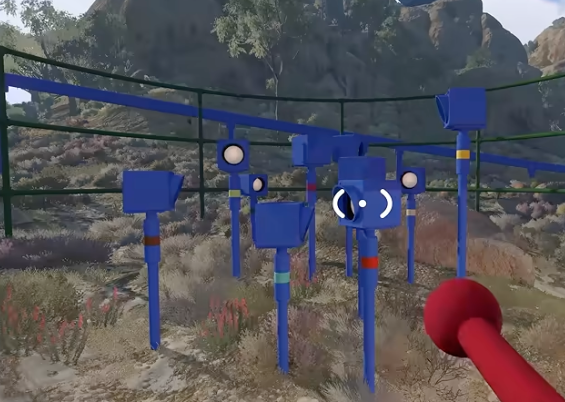
Green Arena Head Count Site
Recognize it: Green arena with ten blue striped lamps, white globes and a blue counter near 4100, 1880.
Why it matters: Count flashing heads. This is not the 4166, 1899 coordinate puzzle.
4166, 1899 Coordinate Sites
Recognize it: A signed beach box plus a distant button camouflaged on joined rocks in the 41/18 grid.
Why it matters: One player holds the coordinate button while another takes the box reward.
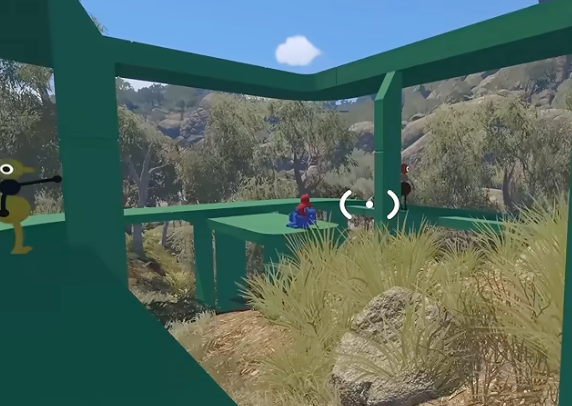
Yellow Tower
Recognize it: Yellow tower around 3310, 1560 near cliffs and later lift/tunnel routes.
Why it matters: Its key opens Yellow Tunnel.
Needs more confirmationYellow Tunnel
Recognize it: South-side rock-face entrance around 3500, 1620, opposite a blue bag structure.
Why it matters: Yellow key opens the late-game passage.
Needs more confirmationBlue Bag Buildings
Recognize it: Large blue circular/basket structures with bag racks inside.
Why it matters: Field-supply stops for backpacks and hip bags. Public counts conflict between nine and ten.
Needs more confirmationRadio Stations
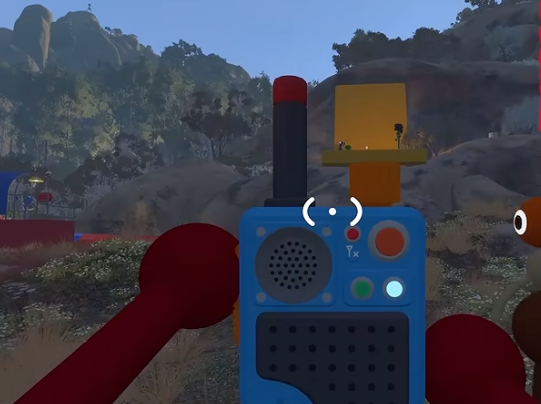
Recognize it: Seven distributed music sites with station equipment and an audible local song.
Why it matters: Discover all seven handheld-radio channels and support the music-chair puzzle.
Needs more confirmationBlack Tower and Black Wall
Recognize it: Late-game dark tower/wall between colored regions and the sphere route.
Why it matters: The remaining tower/key phase opens access to the first-ending area.
Needs more confirmationBlack Sphere / Ending Area
Recognize it: Massive black orb visible from much of the island.
Why it matters: Late communication sequence and Final Three-Color Gate.
Needs more confirmationGreen Dome / Post-game Delivery Building
Recognize it: Lime circular dome near station geography with many piece slots and a reported music-note icon.
Why it matters: Receives post-game pieces; 15 required versus 16 visible slots remains unresolved.
Needs more confirmationSecret Room / 100% Ending Room
Recognize it: Reported near spawn and the broken black-sphere wall section.
Why it matters: Use the final key here after all normal and purple puzzles are complete.
Needs more confirmation