Jump to section Progression items Carrying Navigation Communication Visibility & signaling Puzzle & utility objects Progression items Carrying Navigation Communication Visibility & signaling Puzzle & utility objects Items & Tools
Progression items
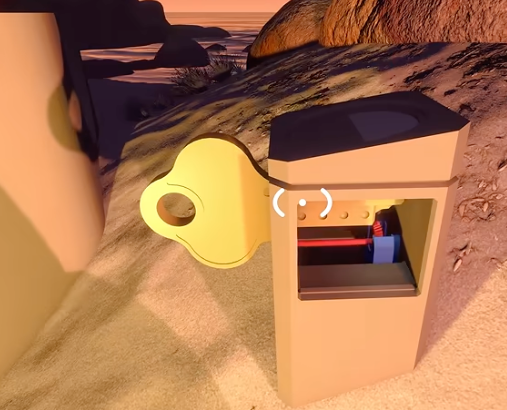
What it does A raw key released after a panel is filled; a five-cutter route shapes it for one specific lock.
Where to get it Beach Control Panel or a colored tower roof panel after its required slots are full.
How to use it Start at the cutter nearest that panel, follow every revealed arrow, then insert the finished key at its destination.
Where it matters Drawbridge, Map Room, train station, chairlift station, Yellow Tunnel and later gates.
If you lose it Search downhill and check teammates’ bags, then starting-area Lost & Found. Keys are not interchangeable.
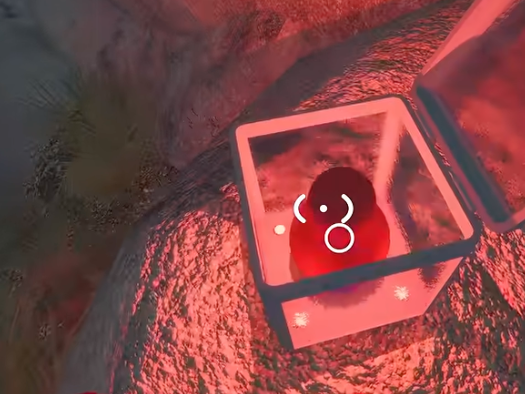
What it does The red oblong reward released by most puzzles. Public sources do not use one stable official name.
Where to get it The four opening puzzles, then most ordinary puzzles across the island.
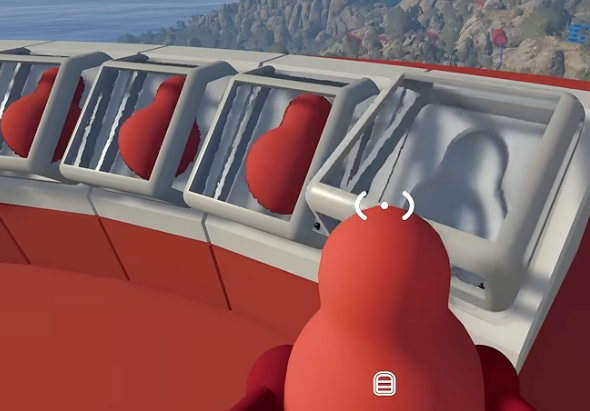
How to use it Hold a matching slot button to raise its cover, then insert the piece. After the Drawbridge, pieces can feed any accessible later tower.
Where it matters Every major tower unlock and post-game clean-up.
If you lose it Search the slope and all bags, then Lost & Found. Some groups cache spare pieces at a known tower. Items & Tools
Carrying Needs more confirmation
Backpack
What it does A wearable rear slot for one normal tool or control-panel piece while leaving hands free.
Where to get it Inside large blue ring/basket bag buildings. Public guides disagree whether there are nine or ten buildings.
How to use it A friend equips the empty pack and attaches/removes its item; the wearer cannot conveniently manage their own back slot.
Where it matters Keys, map, walkie-talkies, puzzle pieces and any long split route.
If you lose it Check the nearest blue bag building, teammates and Lost & Found. Persistence across sessions still needs original verification. Needs more confirmation
Hip Bag
What it does A smaller side slot for a compact tool without occupying the backpack position.
Where to get it The same blue bag buildings used for backpacks.
How to use it A teammate attaches it and inserts a compatible small item; oversized pieces may not fit.
Where it matters Carrying a compass, walkie-talkie or laser pointer alongside a larger rear item.
If you lose it Check other bag buildings and Lost & Found; exact respawn timing is not verified. Items & Tools
Navigation
What it does A foldable paper map with a coordinate grid; it is better for exact numbers than the 3D floor model.
Where to get it On the right-hand table inside the Map Room after Red Tower progression.
How to use it Find the first two digits on the printed bands, then use the final two digits to refine the position inside that square.
Where it matters 4166, 1899, tower routes, transport hubs and other signed hunts.
If you lose it Check Lost & Found, then the Map Room for another copy. Duplication/respawn rules still need testing.
What it does A direction tool that pairs with the paper map and visible landmarks.
Where to get it Map Room table beside the portable map.
How to use it One player reads the map while another calls a cardinal direction and the next large landmark.
Where it matters Coordinate walks, tower-to-tower travel and reunions.
If you lose it Check Map Room and Lost & Found; exact respawn behavior is unverified.
What it does A light-blue display showing the carrier’s live coordinates.
Where to get it In a red frame below/outside Green Tower near the main Chairlift Station.
How to use it Watch how each axis changes, adjust one at a time toward the target, then search the immediate rocks/structures.
Where it matters 4166, 1899 and at least one other coordinate-style hunt.
If you lose it Use the paper map as a complete fallback for 4166, 1899; check Lost & Found before returning to Green Tower. Items & Tools
Communication
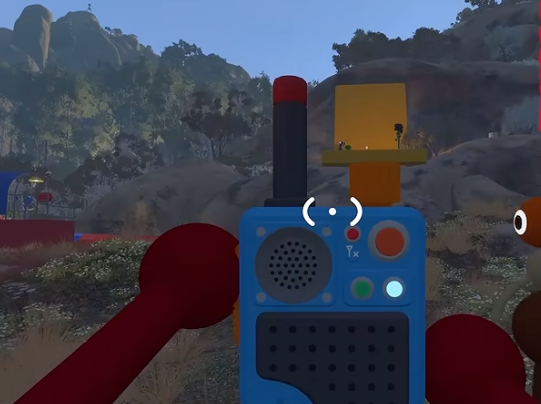
What it does A paired long-distance voice/text link that keeps Big Walk’s in-world crackly communication.
Where to get it Documented pairs include a yellow frame below Red Tower, a red tunnel near Red Tower and a central mountainside frame.
How to use it Split the pair between remote roles, keep messages short and confirm important actions with a repeat-back.
Where it matters Remote buttons, coordinate box, gesture routes, divided buildings and reunions.
If you lose it Search downhill after a fall, check backpacks, Lost & Found and known pair locations.
What it does A seven-channel portable music player that retains songs from discovered radio stations.
Where to get it Reported near the first radio station after the Drawbridge/first music area.
How to use it Cycle channels to identify discovered songs and compare them with the Radio-Channel Match Chair.
Where it matters Seven-station collection and the music-chair puzzle.
If you lose it Check the original station area and Lost & Found. Do not confuse it with a walkie-talkie. Verified
Fixed Radio Transmitter / Receiver
What it does A world installation that broadcasts a held microphone to a linked distant receiver.
Where to get it Fixed at points of interest including tower tops, Map Room, stations and trains.
How to use it Hold the microphone button while speaking and confirm the remote listening point before splitting.
Where it matters Asymmetric communication when the group has no walkie-talkie pair.
If you lose it The main installation is fixed and cannot be carried away. Needs more confirmation
Megaphone
What it does Amplifies one player across a wider area without creating a private two-way link.
Where to get it Reported on yellow cube platforms near Yellow Tower, Green Tower and Purple Tunnel.
How to use it Face the group, keep calls short and use only one megaphone speaker at a time.
Where it matters Wide arenas and calling separated walkers who have no radio.
If you lose it Try another reported cube or Lost & Found. Items & Tools
Visibility & signaling
What it does A broad amber area light that also works as a physical route or danger marker.
Where to get it Tutorial area, points of interest and scattered island sites.
How to use it Carry it at night, place it beside a goal/red stand or raise it as a distant timing signal.
Where it matters Minesweeper marking, Coastal Crane, dark key routes and Heavy Ball.
If you lose it Other lanterns are widely scattered; check Lost & Found for the original. Verified
Directional Torch / Flashlight Also called: torch
What it does A focused beam for one object or route rather than a lantern’s broad area.
Where to get it Inside colored control-panel towers; similar lights appear around the opening.
How to use it One player lights a sign, cutter, piece or tunnel while another keeps hands free.
Where it matters Night travel, tunnels and searches.
If you lose it Use a lantern/flare temporarily and check Lost & Found or tower interiors.
What it does Magnifies distant teammates, platforms and pose/symbol information.
Where to get it Control-panel tower tops and some telescope/overlook sites.
How to use it Keep an observer high, read a teammate’s pose or target, and pair with a laser pointer.
Where it matters Mountain Gesture, Aerial Seat, transport scouting and reunions.
If you lose it Check tower tops and Lost & Found; they are easy to drop while swapping tools.
What it does Projects a precise visible point to identify a distant structure, path or tile.
Where to get it Tower tops and three copies inside the Map Room.
How to use it Make a broad sweep only to get attention, then hold the dot still on the exact target.
Where it matters Navigation and remote gesture puzzles.
If you lose it Search downhill, Lost & Found and Map Room; a public playthrough shows one being kicked away. Verified
Flare Point / Hand Flare
What it does A fixed or portable bright signal marking a location across the landscape.
Where to get it Tutorial path, Map Room area and tower tops.
How to use it Agree what the signal means, then activate it when a runner needs the holder’s location.
Where it matters Remote boxes, reunions and night travel.
If you lose it Fixed flare points remain; portable versions should be checked through Lost & Found. Needs more confirmation
Flare Gun
What it does Fires a colored smoke/light flare; public guidance reports four colors and a short cooldown.
Where to get it Ring-shaped buildings around the island; exact total remains less certain.
How to use it Fire upward as a pre-agreed “come to me” marker; wait before assuming a cooldown is a fault.
Where it matters Long-distance rendezvous and night exploration.
If you lose it Check the ring building and Lost & Found. Items & Tools
Puzzle & utility objects Verified
Telescope / Spyglass
What it does A fixed magnified viewpoint that reveals a remote box, teammate or pose clue.
Where to get it Installed on island platforms and overlooks.
How to use it Center the remote target, then coordinate with a player at the far end; some platforms also have a hold button.
Where it matters Opening Remote Box, Mountain Gesture and Aerial Seat.
If you lose it Fixed telescopes cannot be carried; binoculars are the portable alternative.
What it does Highlights interactable objects with a yellow X in darkness or clutter.
Where to get it Near the tutorial flare point and inside control-panel towers.
How to use it Sweep slowly and inspect highlighted candidates; it identifies interaction, not the full solution.
Where it matters Finding small controls, cutters and dropped pieces.
If you lose it Take another from a tower or check Lost & Found.
What it does Lets one player repaint another player’s body sections.
Where to get it Customisation room near the starting region.
How to use it Paint clearly different body-section combinations and check them in the mirror.
Where it matters Avatar appearance and the Final Three-Color Gate.
If you lose it Return to customisation or check Lost & Found.
What it does A portable surface for short written/drawn messages when speech is impractical.
Where to get it Three are reported near Map Room; more appear around opening progression.
How to use it Write high-contrast symbol names, sequences, meeting points or a flash-code reminder.
Where it matters Silent rooms, symbol locks and regrouping.
If you lose it Check Map Room, the starting area and Lost & Found.
What it does A distinctive nearby audible signal that can carry a simple group-made code.
Where to get it Tutorial area.
How to use it Agree on a pattern such as one ring for stop and two for come here.
Where it matters Communication experiments; no mandatory puzzle role is confirmed.
If you lose it Return to Tutorial Hall or Lost & Found.
What it does An oversized wearable head that reduces vision to blurry color.
Where to get it Pedestal outside the Blindfolded Obstacle Course near Blue Tower.
How to use it Put it on one runner and guide them with calm, short commands to the far button.
Where it matters Only the Golden Head course; it is not general navigation gear.
If you lose it Check the course pedestal and Lost & Found.
What it does A live local countdown object used in hand-off, cannon and obstacle puzzles.
Where to get it Its holder or launcher at the relevant puzzle.
How to use it Scout the route and station every receiver before activating, then pass/throw/fire it into the green holder.
Where it matters Beach Maze, Cannon Timer, Cooperative Obstacle Course and Purple Platforming.
If you lose it Let the attempt reset and reactivate the local holder; it is not expedition equipment.